- Product
-
Solution
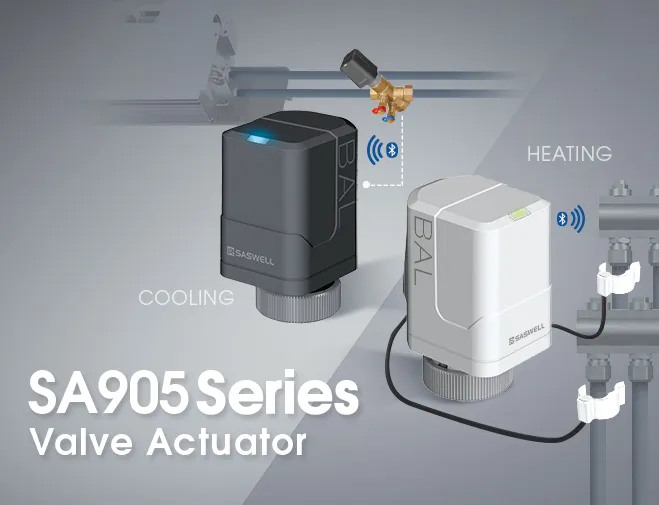
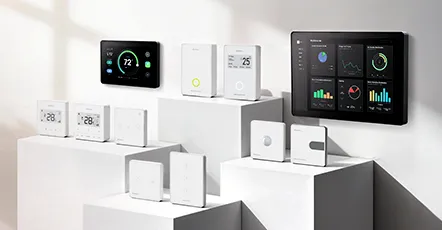
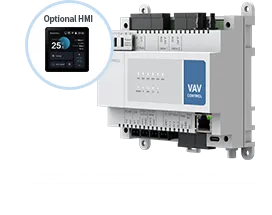
All-in-One HVAC Integration for HEMS & VPP Smart Radiator Control Solution PLC & RF Hybrid Underfloor Heating Controller: No-Wire Retrofit for Heat Pumps VAV Safety Control Systems for Laboratories & Cleanrooms Integrated Heat Pump Control Solution: Seamless FCU & Underfloor Heating Synergy AHU Sensor Solutions Standard Solutions for FCU Terminal Control Smart Home HVAC (AC/Floor Heating/Fresh Air) Integration Solution Smart Multi-Zone Hydronic Control Solution with Single-Master WiFi Architecture Integrated VAV Solutions for Commercial & Green Buildings Central Air Conditioning Time-Based User Billing System Dew Point Control & Sensing Solutions for Smart Constant-Environment Buildings LoRaWAN Wireless Retrofit Infrastructure for Building HVAC, Lighting & IAQ HDC + HMI: The Ultimate Split-Type HVAC Control Solution
-
Capability
CapabilityProven by Global Leaders
Our industry capability is built on deep expertise in complex application scenarios and commercial transaction models, proven through long-term collaboration with leading global organizations:
- 10+ Fortune Global 500 companies in joint development programs
- 30+ industry-leading customers in deep vertical application partnerships
- 10+ major world famous Large-Scale DIY retailer as long-term collaborators
- 100+ global real estate groups across project-based deployments
These partnerships validate our ability to operate effectively across cultures, languages, industries, and diverse go-to-market channels, delivering reliable solutions in complex global environments.
-
Market
Creating Value for Our CustomersEmpowering Clients to Succeed in a Global MarketWe are deeply rooted in diverse markets such as commercial buildings, real estate, home living, energy efficiency, and residential renovation. We offer one-stop solutions—from terminal control products to system integration—with rapid customization as our core strength. By leveraging intelligent connectivity and digital energy-saving technologies, we ensure our clients can stay focused on market development while relying on a partner equally committed to their success. We don’t just make products — we help our customers become industry leaders.
 Commercial HVACWe provide a one-stop terminal control product package, including thermostats, motorized valves and actuators, and environmental sensors, meeting the multiple requirements for precise control, stable operation, and integration with mainstream BMS systems in building scenarios.
 NRC/BuilderWe provide top-tier HVAC system control solutions for fine decoration real estate projects, meeting both the aesthetic match of fine décor and intelligent linkage with other systems.
 Large-Scale DIY Retail & E-CommerceAs a leading brand in TRV (Thermostatic Radiator Valve) control technology, we provide mature HVAC control product kits for supermarket and e-commerce channels, helping channels quickly achieve scaled sales.
 Energy-Saving RetrofitLeveraging professional system integration with wireless technology, we support various public spaces like offices, hotels, and shopping malls to implement energy-efficient solutions, achieving intelligent lighting, air conditioning, and facility management.
 Pro Home ImprovementAs a leading supplier in the HVAC automatic control field, we provide residential HVAC control systems with localized implementation capabilities for the home decoration retail market, balancing installation delivery and user experience.
 -
About
 Global Partner for Innovation and Reliability in HVAC CONTROLSSASWELL has always been our core goal to serve as a solid backing for customers in consolidating their leading position in the market, while providing Fast-customized solutions to high-quality customers worldwide.Learn More
 - News
- Partners